

i think one of my favorite times of year is when the seasons change from summer to autumn & i can drag out all my pumpkiny things & leaves & scarecrows. because it literally is just the beginning of all the wonderfulness that i look forward to every year. ask damon, he knows just how excited i get when its finally appropriate for me to decorate for the cooler seasons, months & holidays.
and while i have several containers of decorations, i always find a reason to create or buy more. pretty sure my house can easily be turned into an elf decorated situation if i wouldnt get eye rolling & no's from my other housemates. one day they will give in, because there was this one christmas when we lived in our apartment (prior to ben) that i strung up paper chains and snowflakes from our living room ceiling, easily impressing anyone who stood at the front door.
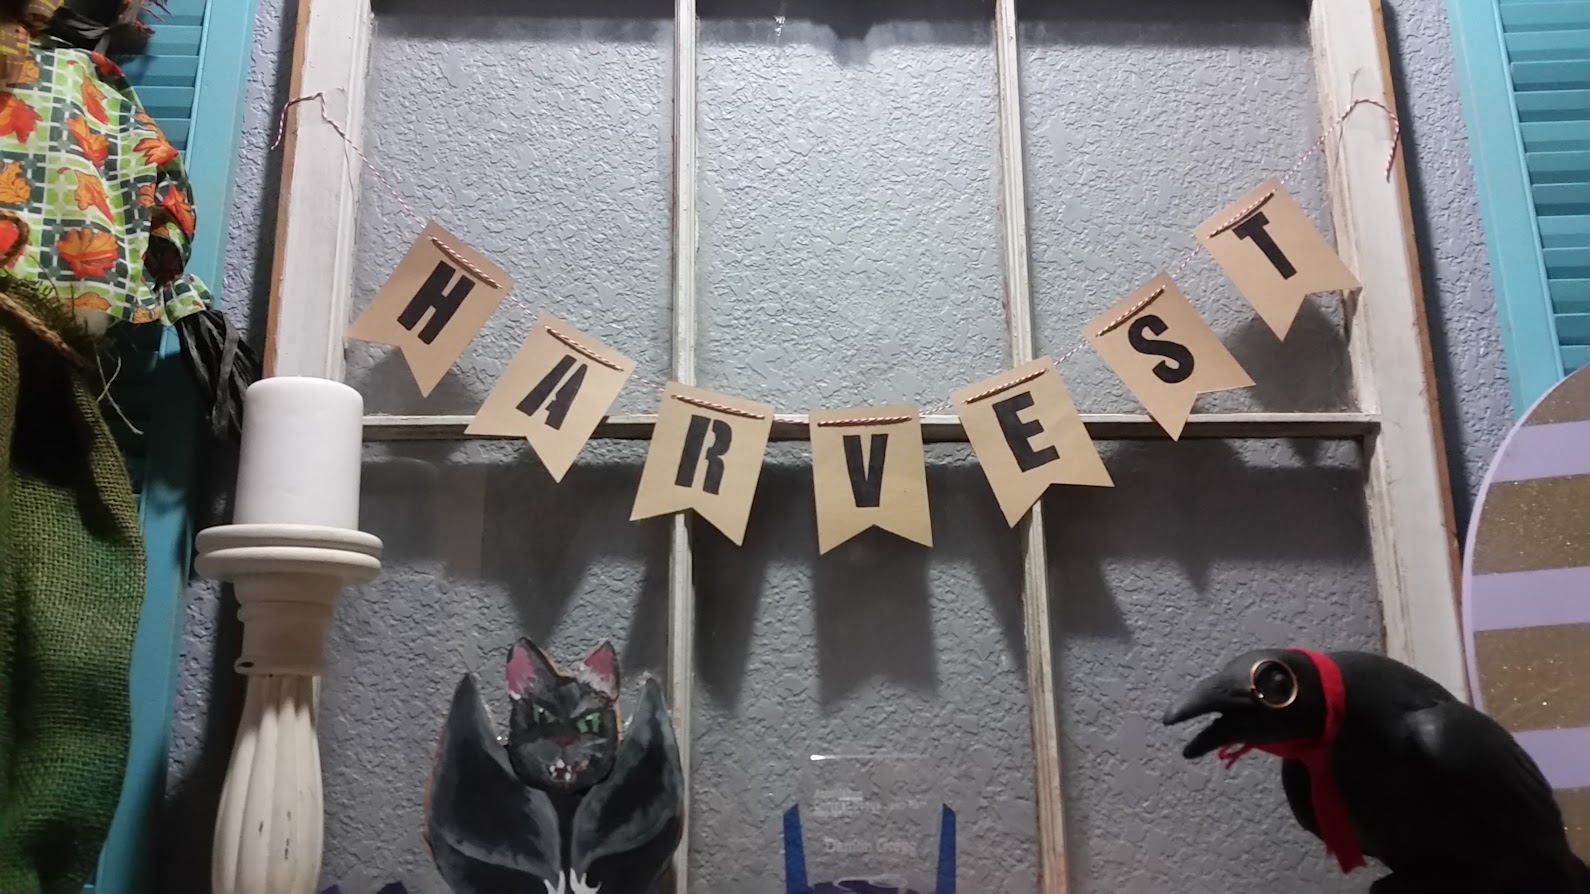
but back to fall. we have this perfect 6 pane old window on our mantle, which creates the perfect backdrop for anything that might accommodate it, decoration wise. i decided a nice banner ushering in the harvest would be perfect to sit up on the mantle with our scarecrow, pumpkins and handcrafted bats that we inherited from damon's mom.
supplies:
kraft paper sheets
bakers twine
alphabet stencils
pencil
black marker
scissors
paper cutter (optional, for cutting paper into squares)
begin by cutting your kraft paper into 4"x3": you will need 7 squares for "harvest" but i always cut a few extra for backups, should i need them.
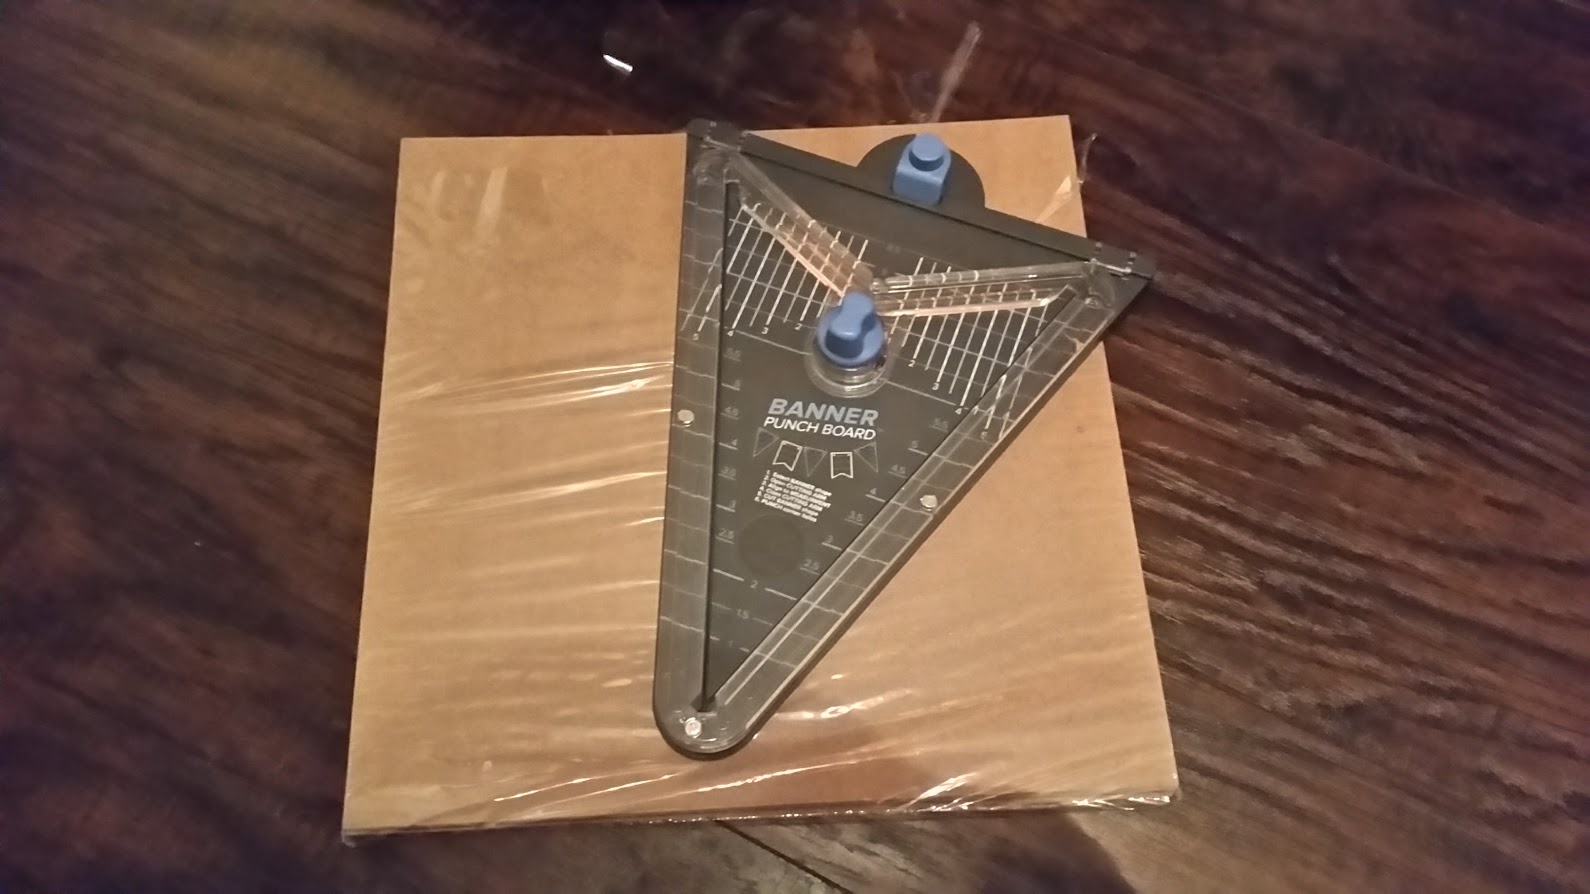
using your banner punch board, center up your square, you'll be cutting the 3" side, on the flag end & cut. (if you're new to the punch board i suggest reading the tutorial before using to ensure you have a good experience and dont end up cussing, like i did, because i like learning things the hard way, and very rarely read the manual)
once you have cut all your squares, line up the uncut corners at the top of the punch board & punch your holes (yep it does that too!) for your bakers twine.
next we will be stenciling our letters onto our flags. i first traced my letters with a pencil & then went over with a black marker, but that's your choice.
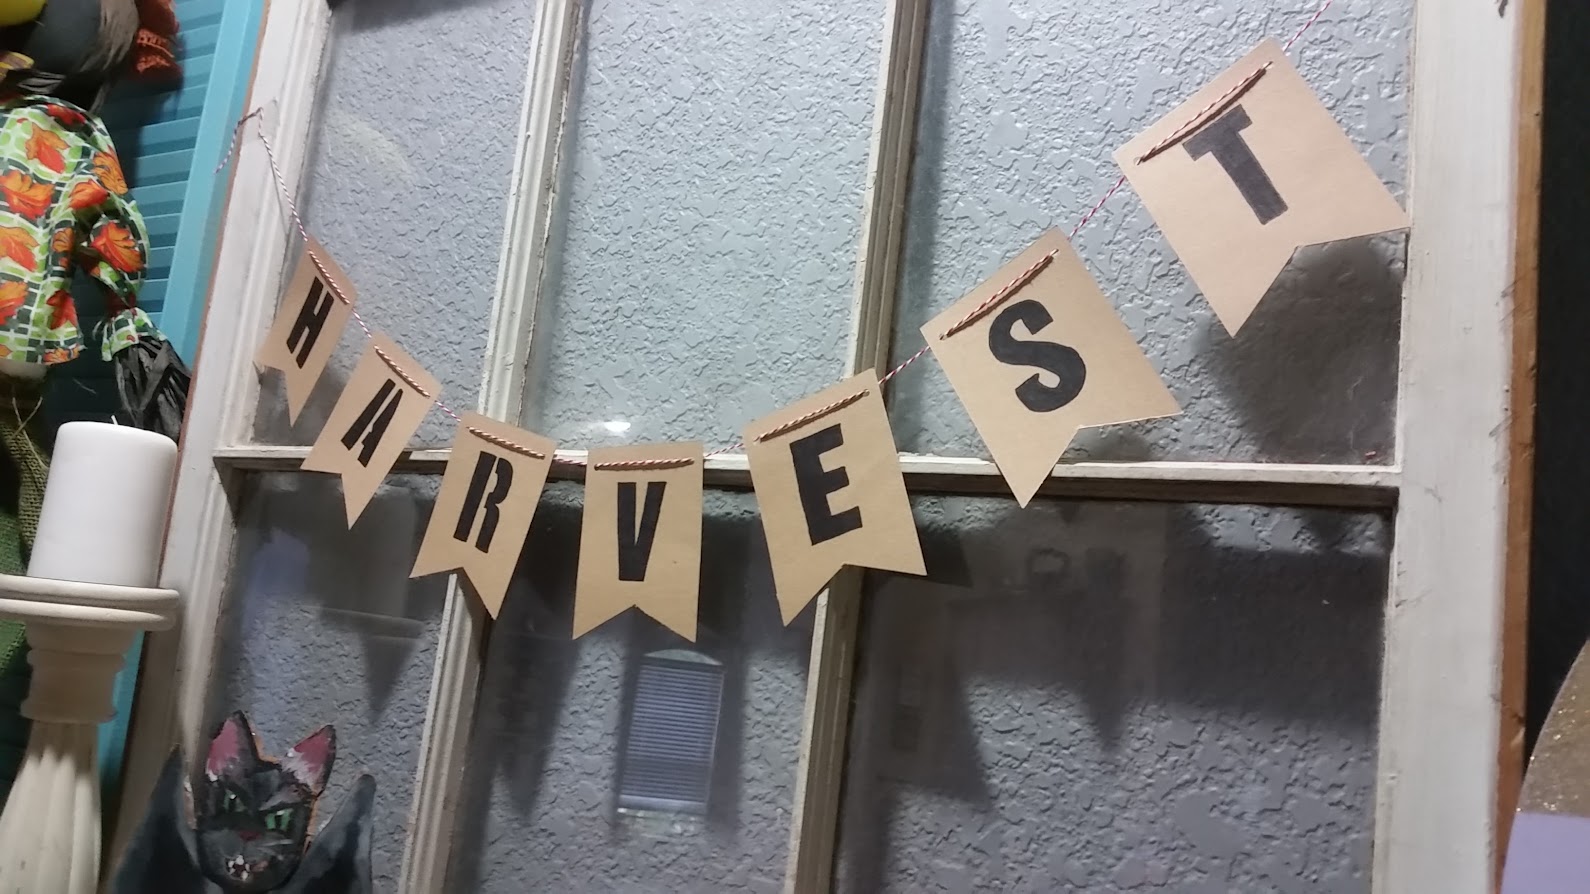
string through your baker's twine to your desired length (i cut mine a little longer for hanging and space between flags) & then hang wherever your heart desires.
and admire your work.
these banners cost me just a few dollars (if that) to make & i can make them whenever my decor needs a little something extra. if you have questions about the punch board or assistance with making these banners, reach out, i'm more than happy to help walk you through any problems you may have.
affiliate links from post:
punch board: https://goo.gl/B17V1N


No comments