

santa claus arrived early for me this year. and by early, im sure it was november when he came sailing up to my doorstep with my glorious christmas gift. and if you know me, i love chrismas, so getting a christmas present early, makes that season start even earlier for me. what did i get you ask? how do you not know, because on social media, i raved for days about it. i got a silhouette cameo v2 & i have been in love ever since; learning all the possibilities that this machine is capable of. i already have extremely high hopes for benjamin's birthday party. santa may have created a small little monster inside of me.
as i began experimenting and exploring the aspects of the cameo v2, i learned & taught myself a couple of tricks. one of my favorite tricks paired with one of my first craft supply loves, modpodge, and you're set up to take over the world. not really, but you feel that way once your project is completed. i've used this technique several times & always love how simple and effortless this is. plus there's not hard vinyl weeding involved.
there's not a specific name for this, but i just call it faux vinyl. creative huh?
supplies:
silhouette cameo, cricut or other cutting tool like this
cardstock paper
cutting mat
modpodge (i mainly use satin or matte)
wood sign piece
paint or stain for your wood, optional.
prepare your wood with paint or stain if desired. while my wood is drying, i go create my design.
to begin, open your software & create your design. i prefer cursive or things that are complete piece so i dont have to worry about lining things up, but total preference,
once your design is ready for cutting, set your settings to show cardstock. load your mat & cut.
*sometimes the cardstock weights vary, so do a test cut to ensure your setting like your paper.
remove your design carefully from your mat & lay out on your sign (if its dry!). once you've decided how you want it to look, remove cardstock pieces and apply a layer of mod podge to your wood. stick down your cardstock to the mod podge. *you can move your cardstock pieces around for a few seconds after before it sets.
after you've got everything stuck down, you want to seal your design with another layer of mod podge. to prevent major buildup, i try to layer mod podge as thinly as possible while still getting good coverage.
let dry well.
display & enjoy.
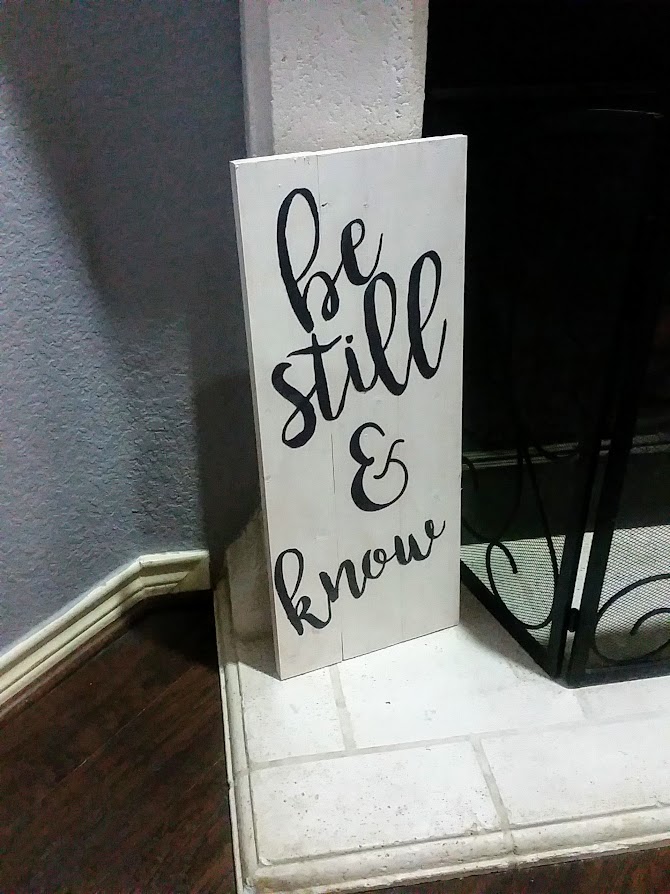
here's another i faux vinyled & love the results of:
you find can the links to the main supplies we used below (amazon aff:)
silhouette cameo v2: https://goo.gl/oNFoVo
mod podge satin: https://goo.gl/FDuMRd


No comments